Minitest::Mock with Keyword Arguments
I had a small gotcha that derailed my afternoon. Hopefully, a Google search (or via our new AI overloads) will tell you if you hit the same.
First, here is the method I am trying to mock: identifier.call(transcript:)
My initial approach looked like this:
mock_identifier = Minitest::Mock.new
mock_identifier.expect :call, ["abc"], [{transcript: "some text"}]
But I kept getting an error like this: mocked method :call expects 1 arguments, got []
Eventually, via some debugging (binding.irb for the win), I found that I could call my mock like this:
identifier.call(:transcribe => "some text")
So that led me to believe something was getting confused with the mock + method signature.
I tried to double-splat the arguments but ended up with the same error.
mock_identifier = Minitest::Mock.new
mock_identifier.expect :call, ["abc"], [**{transcript: "some text"}]
Finally, I went with an alternative way to set and verify the arguments of the mock:
mock_identifier = Minitest::Mock.new
mock_identifier.expect :call, ["abc"] do |args|
   args == {transcript: "some text"}
end
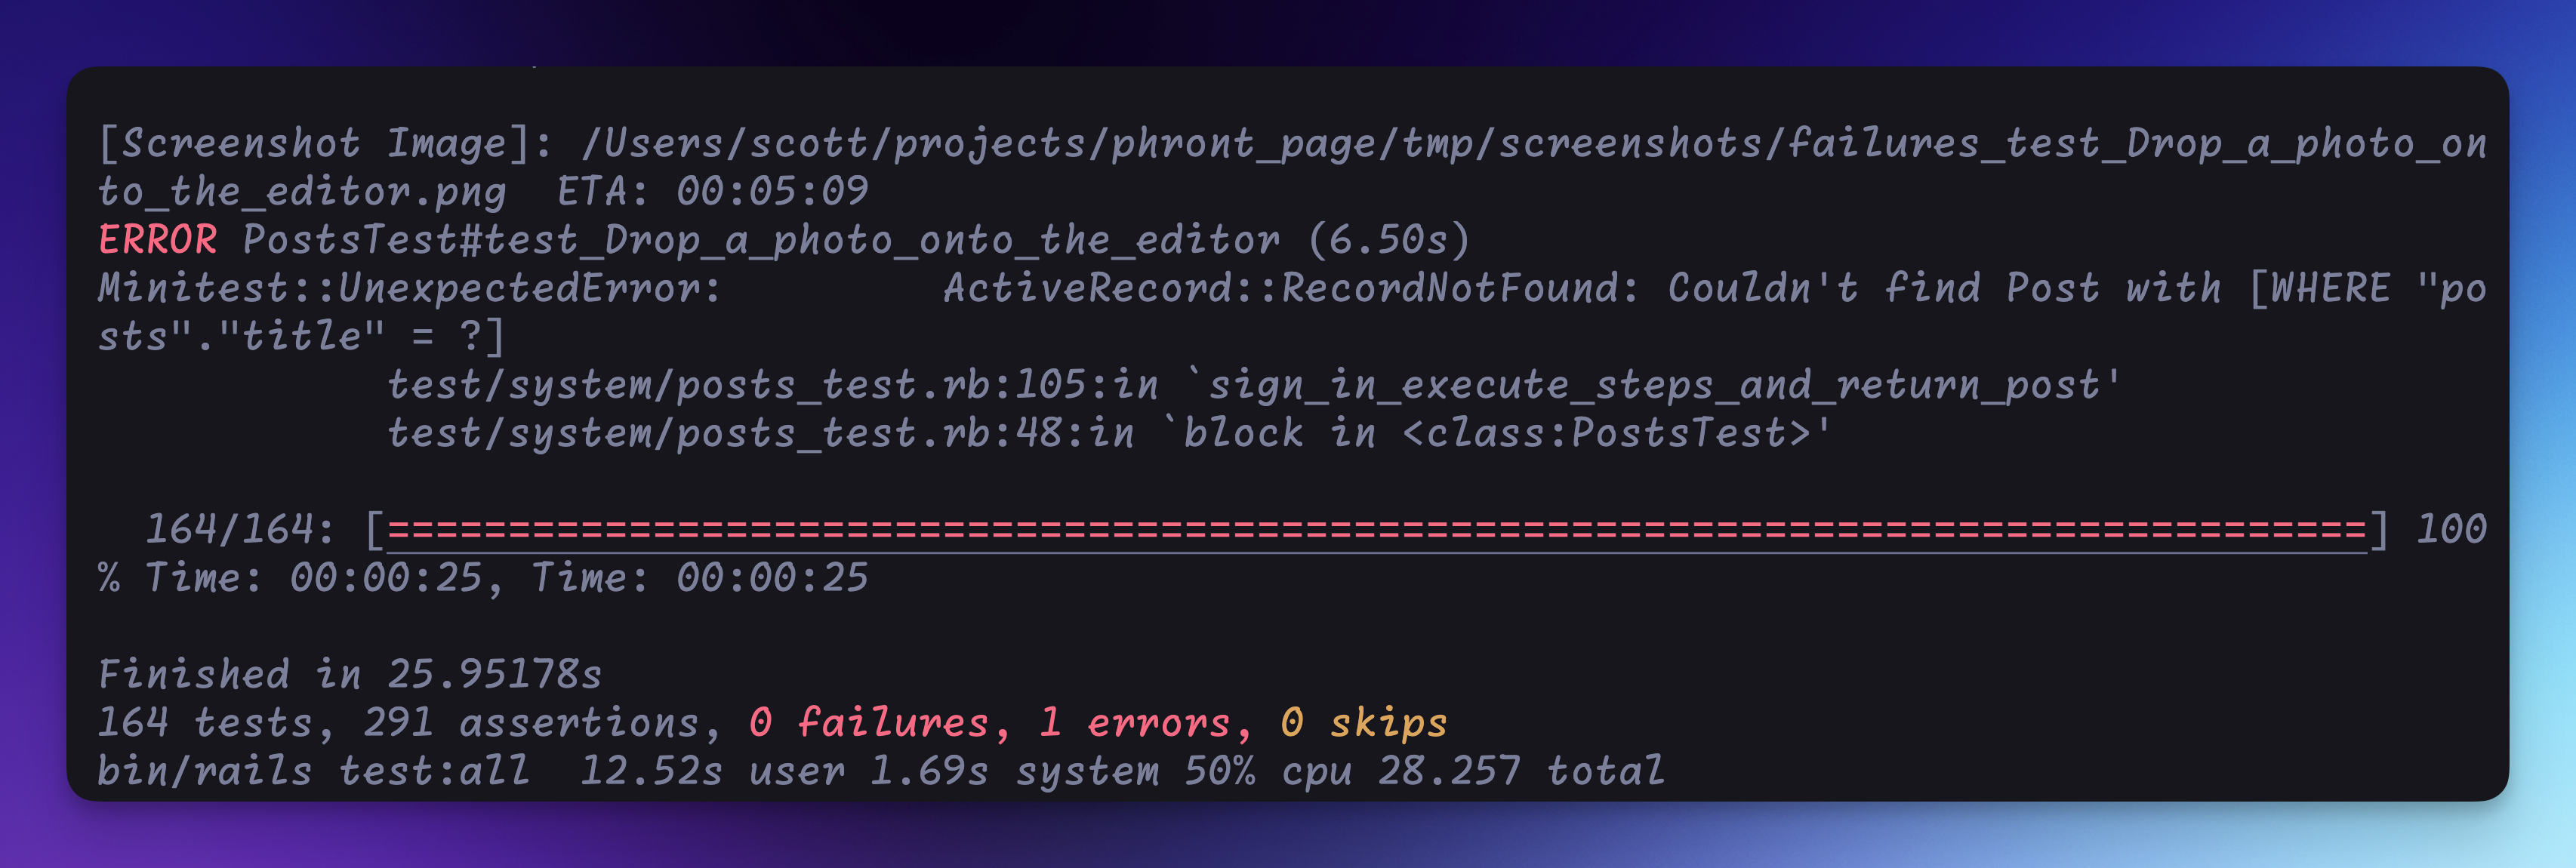
And we are back in business...well, onto the next issue. But we are almost all ✅ now. 😀